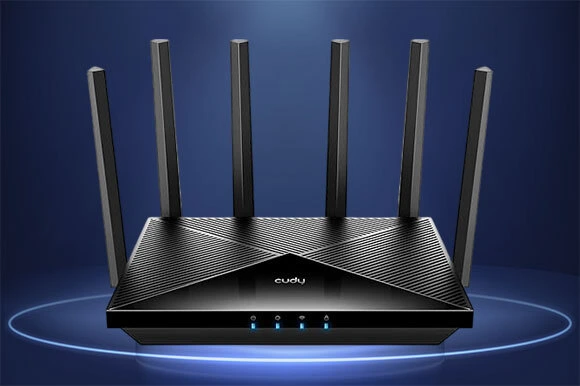
Cudy BE11000 Wi-Fi 7 Router Setup & Login: Your Fast Track Guide
Indeed, Cudy routers have been built with a user-friendly interface and tri-band for effortless networking. Similarly, the Cudy BE11000 is one such wifi-7 powerhouse, delivering up to 11 Gbps. The router has several multi-gig ports, enabling the use of a faster connection in a wired manner.
Consequently, it is suitable for smart homes, gamers, and 4K or 8K streaming. This guide has all you need, whether you are installing a Cudy BE11000 2.5G Tri-Band Mesh Wi-Fi 7 router for the first time or just trying to tweak the settings. Read this guide till the end!
Cudy BE11000: Unveiling Its Distinctive Qualities
To begin with, the Cudy BE11000 is speed and scale built, with a tri-band combined Wi-Fi 7 throughput of up to 10.6 Gbps. It is supported by a superior Qualcomm 1.5 GHz quad-core CPU that delivers low-latency streaming, gaming, and high-bandwidth activities. The router also contains four 2.5G WAN/LAN ports, and it gives high-speed wired connections that are best when securing a futuristic home. Priced at $139.99, it delivers impressive value for its class.
Further, the BE11000 is compatible with Cudy Mesh and VPN client/server that enable the device to connect via secure and flexible remote access. Moreover, it can cover an area of up to 140 m² (1,500 ft²) and appear in 100 connected devices, which makes it ideal to use in large houses or smaller offices. Besides, you can control everything with the Cudy App and control features remotely with your phone.
How to Set Up the Cudy BE11000 2.5G Tri-Band Mesh Wi-Fi 7 Router?
If you have just unboxed your BE11000 2.5G Wi-Fi 7 router, get started with it in just a few minutes. Follow these simple steps for a quick Cudy BE11000 setup:
Initial Connections
- Initially, turn off your existing internet modem and remove the battery from it.
- Now, connect your router and modem through WAN connections.
- Then, power on your modem and restart it.
- Further, connect the provided power adapter to the router and press the ON/OFF button.
- Check the LED indicators to confirm the hardware connection.
- Here, you can connect your router via the A or B method.
- Further, connect your computer to the router via the default SSID and password.
Accessing the Web Interface
- Now, launch a web browser on your computer and go to 192.168.10.1.
- You can also navigate to cudy.net if the IP address doesn’t work.
- Next, create an administrator password to log in.
- After that, you will reach the setup wizard of the router.
- Now, choose the operation mode for your router.
- Then, select Time Zone, WAN, Wireless Settings, and review the summary of the settings.
- Finally, tap “Save & Apply” to implement these settings.
Note: If you are comfortable with a mobile-friendly interface, then use the Cudy app to complete the Cudy BE11000 login and setup.

On the Whole
In essence, the Cudy BE11000 router installation and setup procedure is quick and easy to follow. It is a tri-band Wi‑Fi 7 connectivity, multi-gig networking, and smart capabilities that include traffic and security management, making it one of the best network updates. However, with a friendly user interface and rapid installation process, it takes a couple of minutes to get you up to full-speed wireless.